Introduction
Difficulty level: Easy
Time required: ~30-60 minutes
Result: Way better bass!
Many use subwoofers for movies, but turn them off (or don't have them in the first place) for music. Often they are too loud on some songs, and too soft on others. Some also complain about "one note bass" where it seems like the subwoofer is only droning the same tone whatever is playing, instead of actually staying true to the musical content.
Let's fix that!
This guide is written for our customers who have Sigberg Audio subwoofers, but the general approach is valid for other subwoofers as well, and even full range speakers, as long as your system has a PEQ (Parametric Equalizer) that can be used to adjust the bass response.
Even if you don't have EQ, this can be useful to just measure the response in your room, and also while testing different positions either for the components or your own listening position.
What do you need?
We will keep this old skool, but with a modern twist. All you really need is
- A smartphone or tablet (iPhone/iPad recommended)
- Spotify or Tidal connected to your music system, we will be using this playlist: (Spotify) (Tidal)
- Our online PEQ Assistant tool to plot the response and get EQ recommendations.
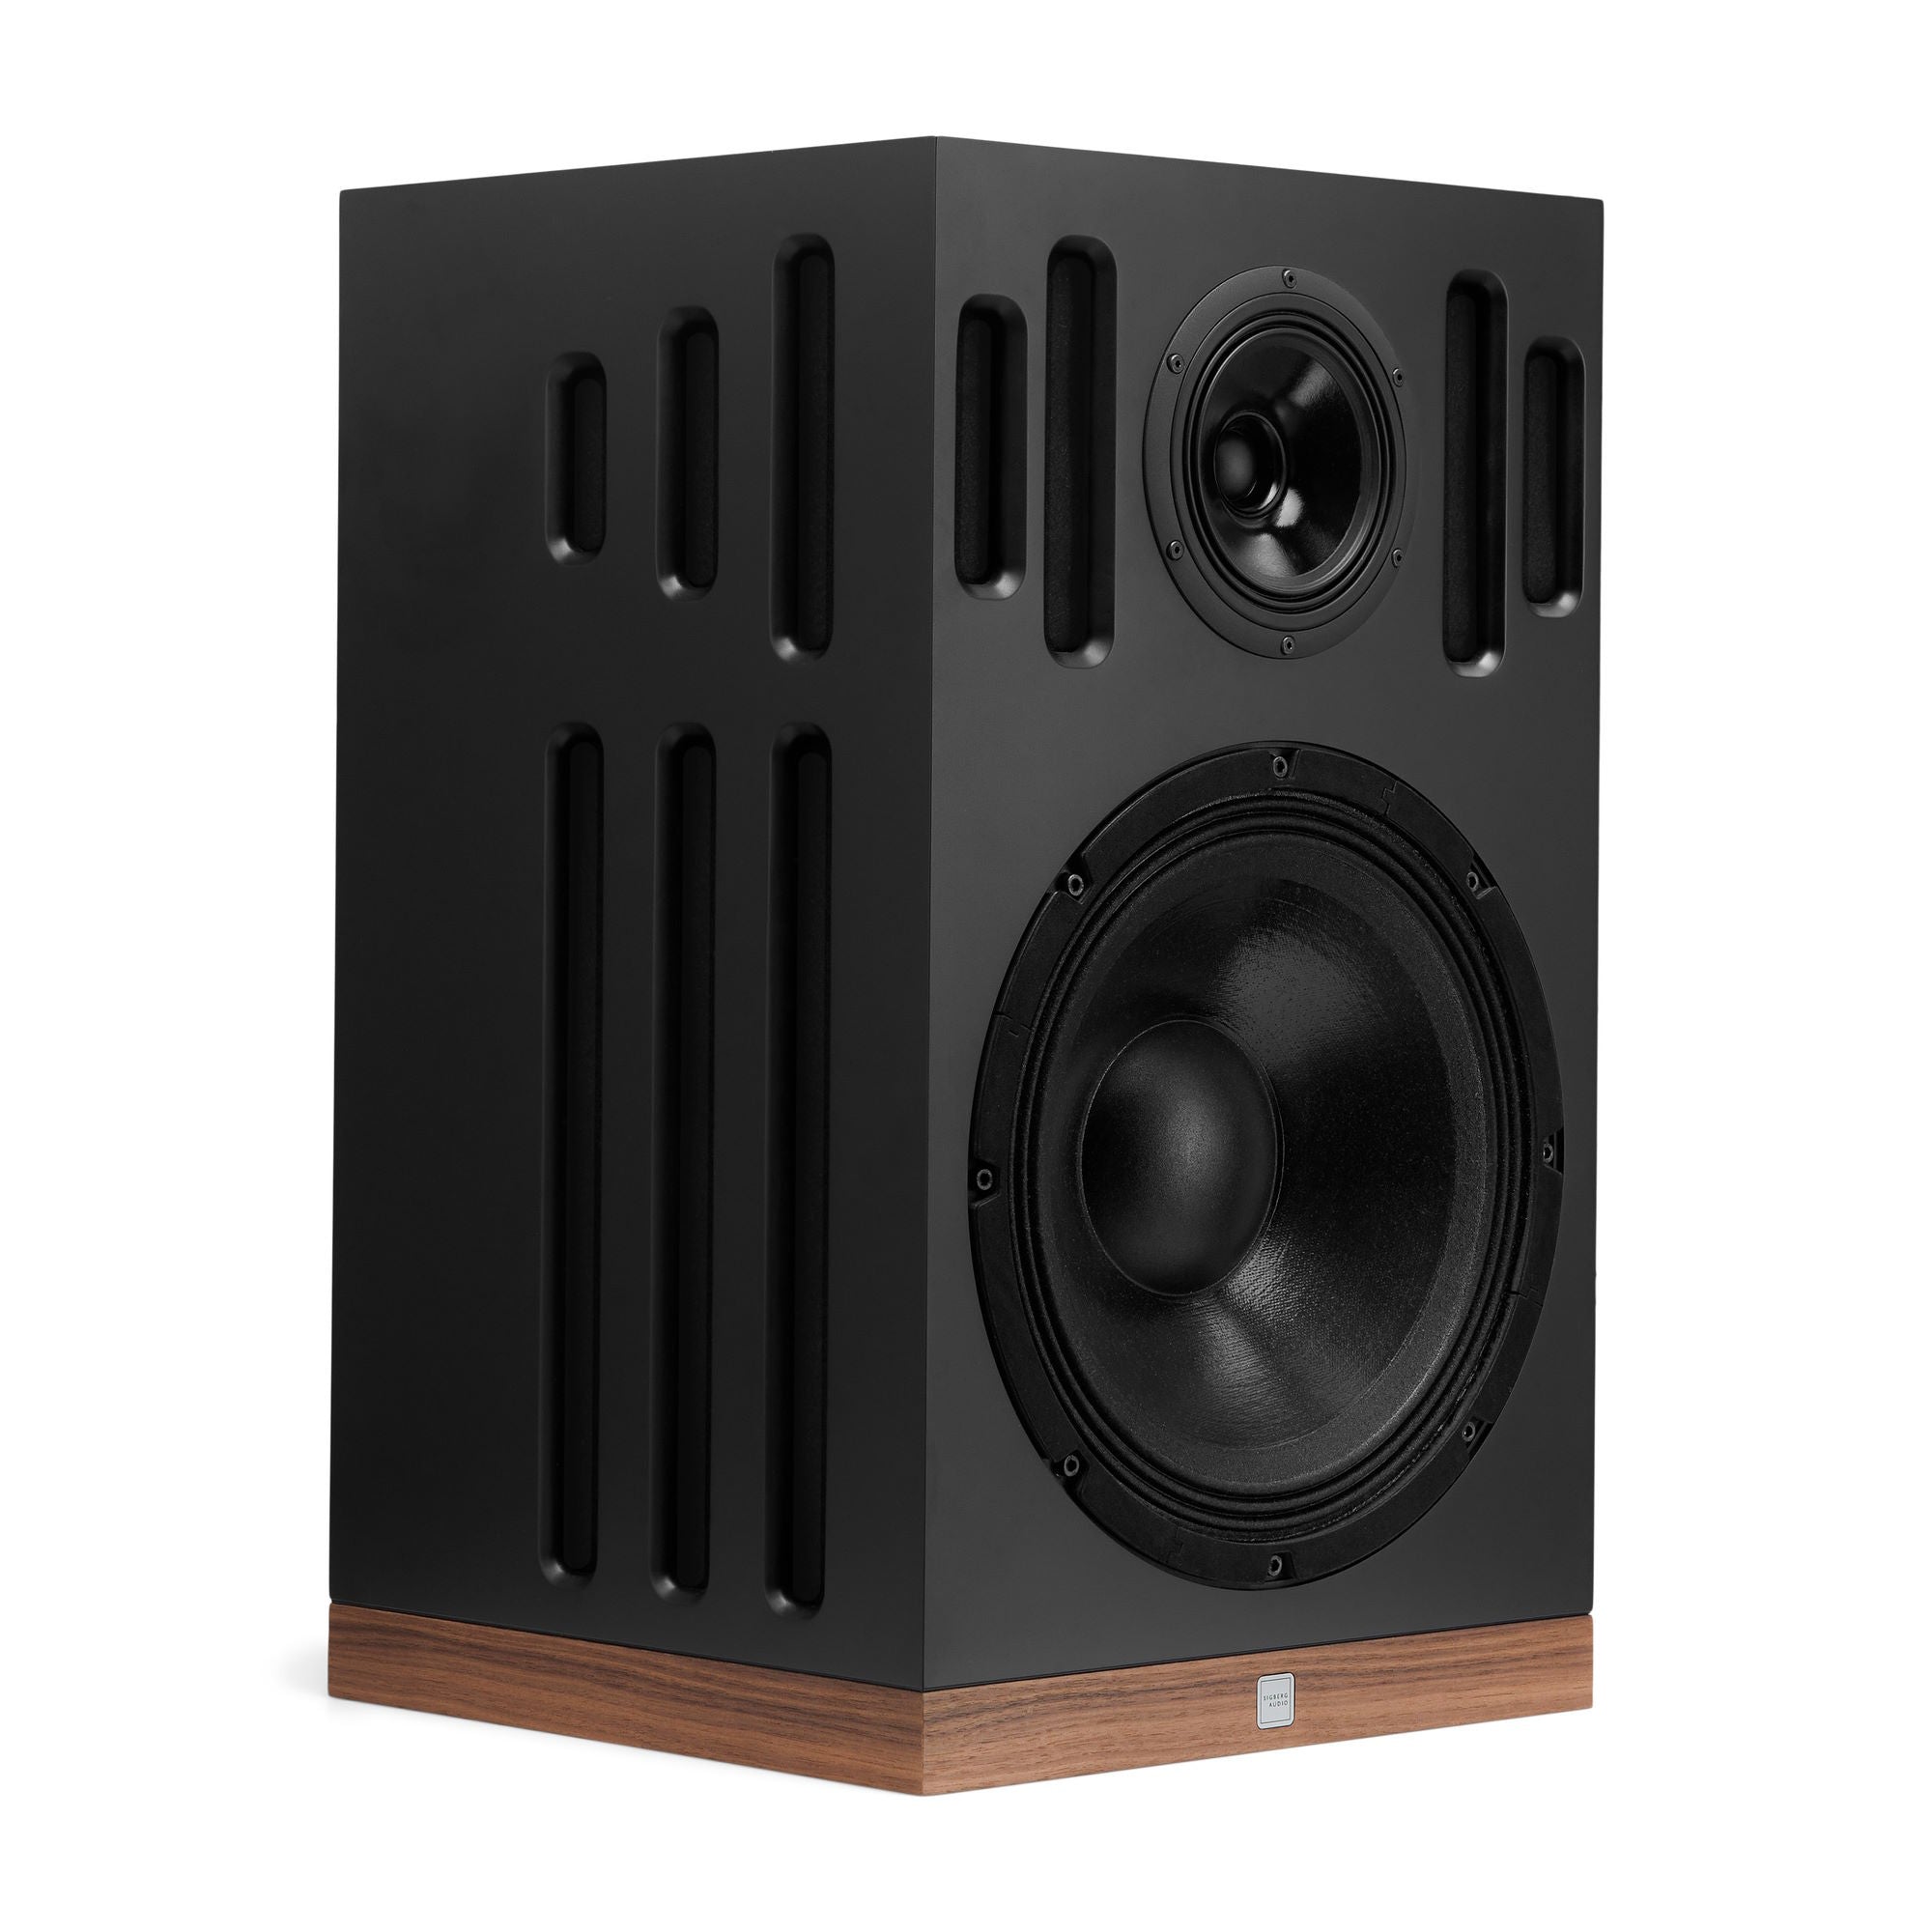
- Finally you will need something in your system that can apply EQ. If you have a Sigberg subwoofer, this is built in. You will need a laptop to connect to it.
Don't worry, it's easier than it sounds!
Additional tips: While not possible for everyone, we strongly recommend dual subwoofers. This will give you a much more even response and a better starting point for this exercise. The excel document supports this as well.
What will we be doing?
This article will guide you through the following steps using a real world example:
- Getting our smartphone or tablet ready
- Plotting a graph of our current bass response
- Evaluating the response and consider how to improve it
- Improving the response through subwoofer placement and/or EQ
- Plotting a graph of our improved bass response to see what we have achieved
- Enjoying our favourite music with tighter and more balanced bass!
Fixing your bass response
Step 1: Get our smartphone or tablet ready
We are going to play a series of test tones through our system (Spotify) (Tidal), and then measure their loudness. We recommend using an IOS device (iphone or ipad) for most accurate results, but an Android device may work as well. Recommended software for IOS: Audio tools (19.99$) as this has compensation filters for the microphone and will be the most accurate. Another alternative is Decibel X. Using Decibel X or other apps without compensation filters means the measurements will likely not be accurate (too low) below 30hz, but this isn't important for the EQ exercise.
Start the app, locate the SPL Meter. Select Z weighting.
Start playing the 80hz test tone from the playlist, place your phone / pad where your head would be located when listening, and point the microphone towards the system. Adjust the volume until the maximum SPL level is around 75dB.
Step 2: Plot a graph of your current bass response
Now open the PEQ Assistant tool, and simply follow the instructions in the tool.
Play each sinus tone from the playlist, starting with 20hz, then 25hz, then 30hz etc, all the way up to 99hz. For each tone, check the decibel level with the app on your phone/tablet, and type it into the PEQ Tool as instructed.
Click the Analyze button, and two graphs will appear. One showing the plot you've entered, and one that is an estimate of the improvement gained by the recommended EQ points.

Step 3: Evaluate the response and consider how to improve it
The ideal result would be a straight line following the dotted target line, but you will never see this in practice. If we can stay within the +/-3dB range, we are very happy!
The response in the example above is actually pretty good, but it can be improved. The area from 55-70hz is a quite hot. We also seem to have a dip at 75-80hz. Dips can be troublesome to fix with EQ (read why at the end). The first thing we should try, is to move the sub(s) if we have the luxury of alternative positions. Let's get to it in step 4!
Step 4: Improve the response by alternate subwoofer placement and/or EQ
In this example we only had a single sub, but by moving it around to a different location and measuring again, we were able to improve our dip. The subwoofer started out in a corner, but is now located close to the middle, to the left of our right speaker. As can be seen on the red graph below, this improved our dip at 70-80hz.

Then on to the hot 60-70hz area, which we will fix with EQ: All Sigberg Audio subwoofers have built-in parametric EQ, accessible via USB.

Let's connect to our subwoofer now (check our manuals if you are unsure how)
You can also use alternative EQ available in your preamp / streamer or playback software.
To add a PEQ we need to enter three things:
- The frequency we want to adjust. In our case this is the center frequency of the peak we want to fix. As we have only measured every 5hz, it's not perfectly precise. We follow the recommendation from the PEQ tool which is 66hz.
- The width of the peak we want to adjust. Our peak is somewhat wide. The tool calls it a medium peak and gives us a Q of 4.3.
- How much we want to increase or decrease the level. The area is about 10dB hot, but it often works best to use a light touch and not dampen peaks completely. The PEQ tool suggests 8dB.
The rest of the response looks pretty decent, so this is actually the only point recommended by the tool, but it will significantly increase our response, removing that one note-bass sound.
Step 5: Inspect the estimated graph of our improved bass response to see what we have achieved
That is looking way better than our original response! We see that the hot area at 55-70hz is reduced quite a bit. Since the reduction was quite significant, we may need to increase the overall gain of the subwoofer a bit afterwards. We're now quite close to +/-3dB, which is really good. Don't feel bad if you're unable to achieve the same in your system, especially if you only have one subwoofer.
While we could possibly tweak this even more, it's time to listen to some music and verify the result before doing anything else!
Step 6: Enjoy your favorite music with tighter and more balanced bass!
Wohoo! This sounds way better! Getting rid of the peak as well as the dip at 70-80hz really helped getting a more balanced sound on some of our favorite rock tracks, and in general the bass now sounds much more consistent across different music and genres.
You can go back and forth between these steps to test placement and EQ options, and remember to spend some time listening to music along the way to verify the result! Note that the tool also allows you to edit the suggestions or add your own PEQ points to experiment with the response.
Final note: With EQ less is often more. In the bass area you often get far with 1-3 EQ points, and try to not dampen peaks fully, as that may take some punch away as well. When it comes to dips, EQ often doesn't work, so try to fix those with moving your subs. The PEQ tool automatically takes this into account, and takes a moderate approach when it makes EQ recommendations.
We hope this little guide was useful, and wish you good luck on your hunt for great bass!
Questions / Want to discuss results or how to use this?
Check out the thread about this tool on ASR